
Today I will share with you the process I use to touch up my beat up baseboards. And I mean beat up. If you do this to your baseboards, they will turn out looking better than mine, because mine are really bad.

I like Minwax Wood Finish Stain Markers and Minwax Wood Putty. They are cheap, convenient, and available in a variety of colors at pretty much any hardware store. I also use a damp rag, paper towel, and cardboard paper (not thick corrugated cardboard). So this is what I do...
First it helps to wipe down the area with your damp rag, to clean off the grime and see what you are really working with.
Then get your stain marker and press the tip down hard on the cardboard paper, causing the tip to go up into the marker and become saturated with stain.
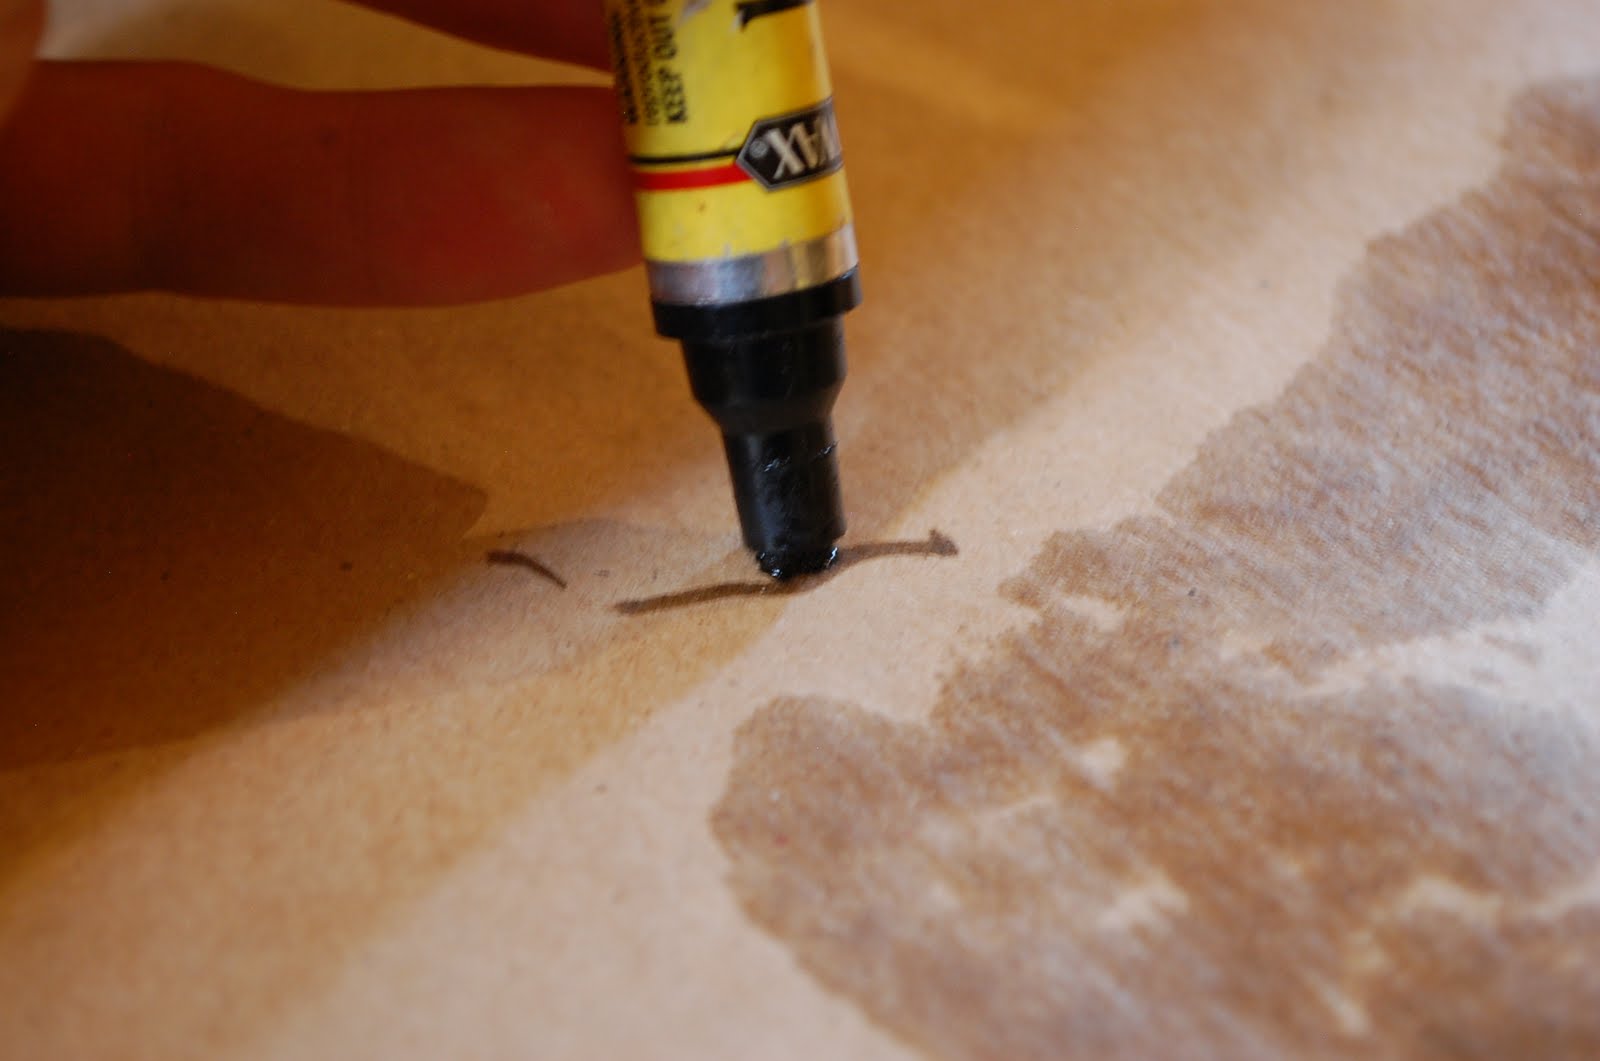
Try 'writing' on the paper with the marker, it should be like writing with a Sharpie. If it does not write well, you need to keep pressing down until you get a nice wet tip.
Then take your cardboard paper and slide it under the baseboard or molding you are working on, to protect the surrounding surfaces. Then you will use the stain marker to write on the parts of the wood where the stain is scratched or rubbed off...

You should test this out in an inconspicuous area first, to see how long your stain needs to rest on the wood to match your wood's stain color. In my case, I would do a few rubs or scratches, and then wipe the excess off, then do a few more, then wipe the excess off. The time you need to let it sit will depend on how closely you are able to match the stain pen to your wood color and whether it is lighter than your wood (let it sit longer) or darker than your wood (wipe off very quickly). I use a paper towel to wipe off the excess...

Then I like to fill in any large nail holes or other gouges with the Minwax Wood Putty.

Simply scoop out a small dab (pea sized) with your fingertip and rub it into the hole, adding more if needed. Scrape off excess with your finger. You might notice a foggy area surrounding the hole; take your damp rag and pass over it a couple times and it will come off.
That's all there is to it. Even though mine are beat up, they still look a lot better after being touched up. Here is some proof...


No comments:
Post a Comment